
How To Install / Build A In Ground Sunken Trampoline In Your Garden
Are you looking for an alternative to traditional trampolines that gives kids the chance to leap high into the air with vigor, but feel turned off by the design of traditional trampolines?
In that case, you’ll need to learn how to build a sunken in-ground trampoline. The benefits of installing a sunken trampoline in your garden are numerous. Aside from being fun, it has the advantage of taking up less space, as well as being easier and cheaper to do than people expect.
The benefits of sinking a trampoline greatly outweigh the drawbacks. They are actually usually raised in gardens for the sole reason that the initial setup is easier.
Since it is not likely that anyone will fall off (or out) of the trampoline, it does not need a safety net either.
Continue reading if you’ve been converted. This guide will show you how to build a sunken in-ground trampoline in your garden, we show you how to put a trampoline in the ground step by step.
Building a sunken in-ground trampoline: Step-by-step guide
Installing a sunken trampoline is easy, but it involves more than just digging a hole and dropping it in. For bouncing to be as safe and fun as possible, you need to make sure everything fits correctly.
It is good to know that you do not need a special in-ground trampoline. All you need is a normal trampoline and follow a few steps to ensure it sits securely in the ground.
1. Check your garden
You will be glad to hear that you don’t need to worry about applying for planning permission to dig a big hole in your garden. However you do need to check you don’t have any underground pipes or cables running through your chosen area.
2. Mark out the area for the sunken trampoline
The easiest way to do this is to actually build your trampoline frame, then flip it over so that the rim touches the ground and the supports are pointing skywards. Think of it as a giant cookie cutter, now mark the whole area around it with chalk, paint or a shovel.
3. Dig the hole
This is what your trampoline will sit in, be aware that this isn’t a standard whole, it will consist of an Outer hole, ledge and an inner hole.
Outer hole – Should be roughly 25cm to 30cm (depends on the height of your trampoline)
Ledge – Flat and 20 to 30 cm wide (trampoline supports and retaining wall will rest on this)
Inner hole – The depth of this hole depends on how wide your trampoline is:
Round Trampolines
8ft = 75cm deep
10ft = 75cm deep
12ft = 90cm deep
14ft = 90cm deep
16ft = 1m deep
Rectangle Trampolines
10ft x 6ft = 75cm deep
11ft x 8ft = 75cm deep
14ft x 10ft = 90cm deep
Here is a diagram of what it should look like:
A professional can dig the hole for you, or you can dig the hole yourself.
It is more expensive to hire a professional (make sure to get an estimate before starting the work), but they have experience and equipment to dig a hole quickly. You will be surprised by how much labor is involved in digging it yourself.
Don’t throw away the soil you dig up right now. If the hole turns out to be too big later, it can be used for filling it and for bolstering some soil around the trampoline structure.
4 Check trampoline fits the whole
You now need to assemble the whole trampoline frame and see if it fits inside the hole you have dug. If it doesn’t fit, you will need to adjust the hole until it does fit.
5 Build a retaining wall
While the trampoline is inside the hole, it’s crucial that the inner wall doesn’t collapse. This extra work will pay off over time as the retaining wall will save you time and money over the years, as well as extending the lifespan of the trampoline.
How you build this retaining wall is up to you, there are several options and different ways you can do this. Corrugated metal sheets can be secured around the inner hole or around the trampoline frame. You can also use flexible plastic attached to the trampoline frame or secured around the inner wall. Maybe you want to create a physical block wall around the inner hole.
6. Install weed membrane
So you have the dug the hole and built some sort of retaining wall, you only have two more steps to do before you’ve finished creating your sunken in-ground trampoline. It’s now time to install some weed membrane over the ledge and the inner hole. Why? well to stop any weeds from growing underneath the trampoline.
7. Place the trampoline into the hole
This is the final step, simply place the trampoline into the hole and backfile any gaps you have.
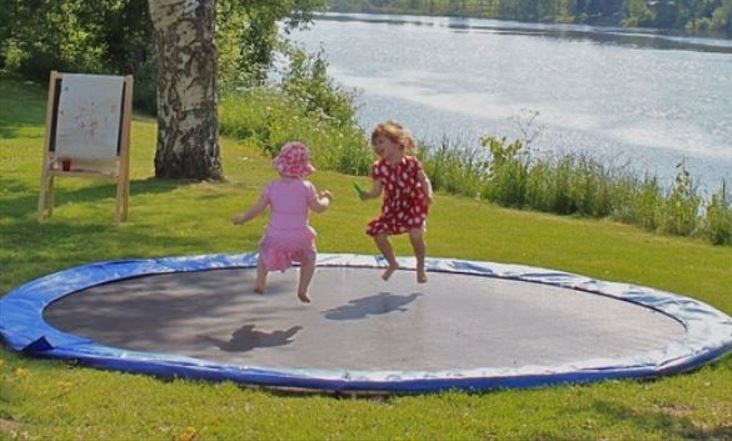
You are all set to go, your sunken in-ground trampoline is complete! A hole has been dug, a trampoline placed in it, and steps have been taken to prevent it from moving. There is only one thing left to do now: get jumping. It will be fun watching your kids bounce around and you may even be tempted to jump in alongside them if you are feeling adventurous!